Here’s a list of some of the things you’ll learn in this course:
- equipment and clothing selection
- pre-trip planning and training
- crampon techniques such as pied marche, pied plat, pied troisieme and frontpointing
- ice axe techniques like caning, daggering, traction and self arrest
- anchor building in snow and ice using pickets, ice screws, bollards and snow seats
- ropework, knots, belaying, multipitch transitions and rope management
- glacier travel, route finding, navigation
- crevasse rescue, emergency first aid
- snow camping, stoves/cooking/fuel
- meal planning
Mt. Rainier Prep Course – Typical Itinerary
Day 1
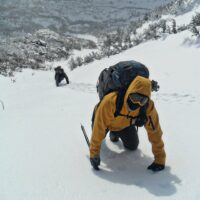
Meet at the Synnott Mountain Guides office (Intervale, NH) at 8:00am for gear check and morning briefing, course overview, client background, etc. Drive to Willey’s Slide in Crawford Notch. Practice basic crampon and axe techniques on trail to base. At the base of the route you’ll receive a thorough introduction to the use of crampons and ice axe on a variety of terrain from snow to low angle ice. After a chance to practice these techniques, you’ll remove your crampons and practice self arresting with your mountaineering axe. You’ll learn how to stop yourself from various positions from sitting to head first on your back. The afternoon will be spent climbing the 600′ slide. This is a multi-pitch climb of snow and ice on which you’ll be tasked with trying to apply the right technique in the right place. About 2/3rds of the way up you will tackle a steep bulge of water ice on which you can practice swinging your axe and front pointing. Along the way you’ll learn about building anchors, transitions, belaying techniques and rope management. The descent offers more great opportunities for learning about downclimbing, glissading and rappeling (from v-threads, trees, etc). All told this first day is jam packed with all the fundamental mountaineering techniques.
Day 2
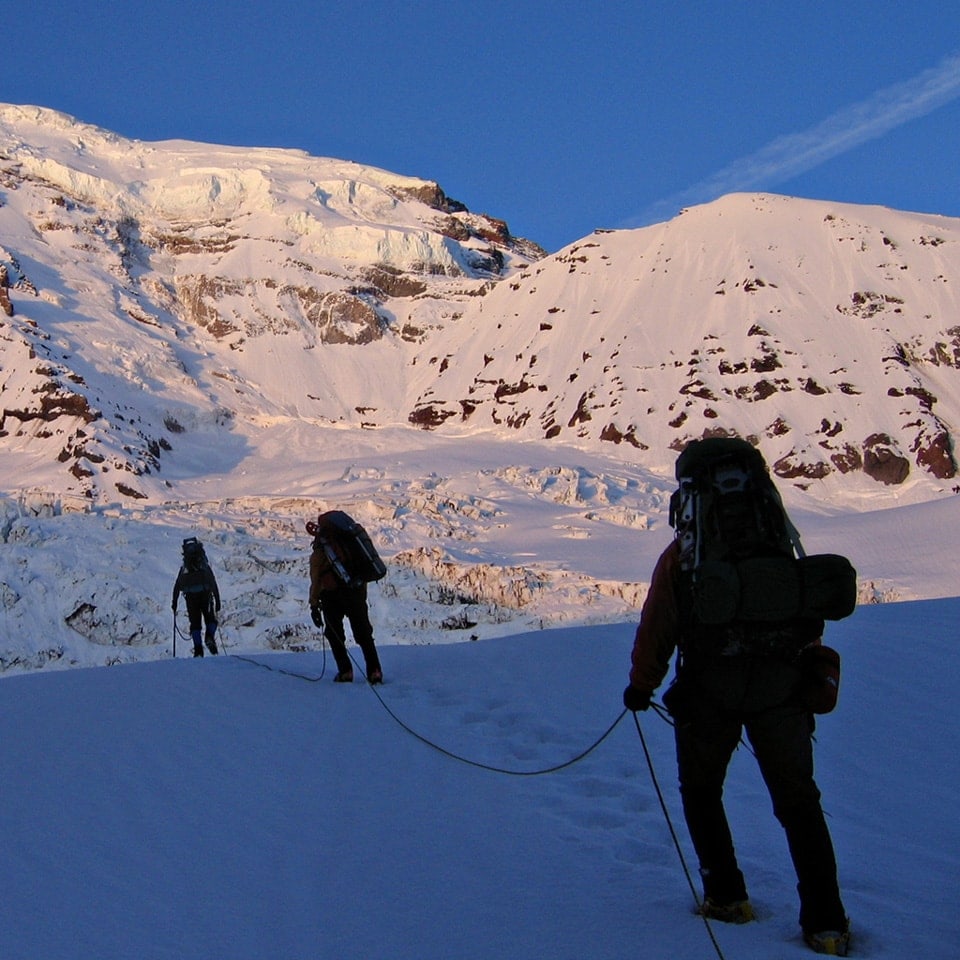
Meet at the office to finalize packing in anticipation of two days and one night up on Mt. Washington. Ample time will be spent on fine tuning clothing, equipment, food, tents and sleeping bags for the overnight, which is usually done near the Harvard Cabin at the base of Huntington Ravine. The hike to the campsite is a little more than two miles and usually takes about 1.5 hours. After a general discussion of considerations regarding campsite selection, you’ll set up your tent and leave all of your camping gear inside. With days packs you’ll continue up into Huntington Ravine and spend the rest of the day practicing glacier travel and crevasse rescue. You’ll learn how to tie into the rope according to how may people are in your party, and how to move up and across glaciers such that you always keep the rope team moving perpendicular to the direction of the crevasses. We’ll have the team rope up and begin climbing up the fan at the base of the ravine. Without warning, someone in the back of the rope will take a mock crevasse fall and the rest of the team has to self arrest, build an anchor and then someone rappels to the victim. After applying the ABCs of first aid, the rescuer then prussiks up the rope out of the hole and the team or individual then builds a mechanical advantage raising system to extract the victim from the crevasse. Crevasse rescue is one of the most difficult scenarios that you’ll ever encounter while mountain climbing, and it is a vitally important skill to master for anyone attempting to climb a heavily glaciated mountain like Mt. Rainier. At the end of day two, the team hads back to camp to settle in for the night. You’ll cook dinner and hot drinks and there is plenty of time for discussion of various mountaineering topics with your guide, like how to dry your gear, hot water bottles, toilet etiquette, etc.
Day 3
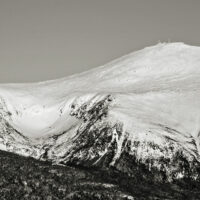
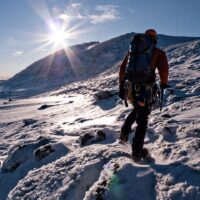
Most teams on day three will make an attempt to summit Mt. Washington. The route you take to the summit could be a multi-pitch ice gully in Huntington Ravine, a snow gully in Tuckerman Ravine, or the steep snow climbing on Lion’s Head. The route you take will depend on a number of factors like weather, conditions, morale, group fitness levels etc. Regardless of which route you take to the summit, the last day is a chance to put all the techniques to the test.The summit day is also a chance for your guide to share knowledge about avalanche awareness through the morning USFS avalanche forecast, the daily weather forecast and any other snow observations that you may have conducted while in the field the first two days. On the way to the summit your guide will ask you to identify slide paths and to make your own assessments as to what terrain is safe (or not safe) to ascend and/or descend. After (hopefully) reaching the summit, the descent is a perfect time to practice glissading and self arrest. When conditions are good, it is possible to glissade a lot of the upper snowfields and sometimes you can even slide down one of the gullies in Tuckerman Ravine. You’ll circle back to grab your camping gear and then finish the hike back to Pinkham Notch.
If you’re thinking about climbing Mt Rainier in 2011, the best place to get started is in the White Mountains of NH with a Rainier Prep course with Synnott Mountain Guides. I did a 3 day course with Synnott Mountain Guides in March 2010 and the training I got there helped me get to the top of Mt Rainier on June 29, 2010. Prime yourself for summit success on Rainier by training with Mark Synnott. You will be very glad you did!
Lou Kuhlman
New York, NY

