3 Day w/ Overnight
Please note that the course cost includes all of the technical equipment : mountaineering boots, crampons, ice axe, harness and helmet. We offer this equipment free of charge because we do not want a lack of gear to inhibit someone from getting into this sport. The clothing is your responsibility, so contact us for an equipment list. We do have a few items available for rent on a first-come, first-served basis, but give a call if you’re confused about whether clothing you already own satisfies the criteria. Here’s a sample itinerary for a 3 day Intro to Mountaineering Course (though many variations are possible)…
Day 1
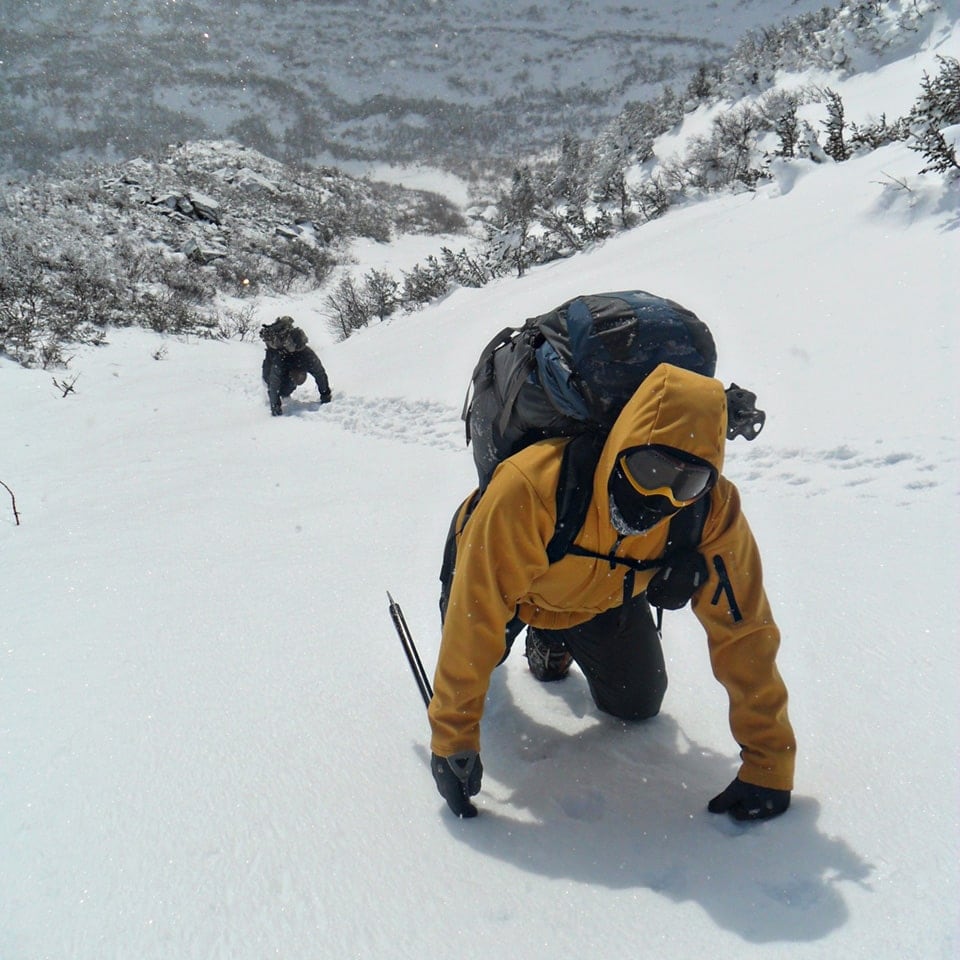
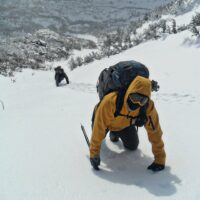
We typically meet at our office 8:30am. After getting outfitted with boots, crampons, axes, harnesses and helmets, we’ll head out to the chosen route. At the base, we’ll put on our harnesses, crampons and helmets. Typically the very first thing we’ll do is an introduction to walking and climbing on snow with crampons on. We’ll cover the basics you’ll need to know like French technique, piolet traction, front pointing, plunge stepping, etc. We will quickly add a mountaineering ice axe into the equation and you’ll learn the various axe techniques, which match with the different foot techniques. We’ll talk about how to carry and grip the tool (self arrest versus self belay, pick or adze forward), caning, high and low dagger, as well as a discussion of ice axes in general and how to choose the right tool.
Once we have covered the basics of French Technique we often will move straight into self-arrest practice. We’ll practice sliding down in various positions, then rolling into self-arrest and aggressively digging the pick of the tool into the snow. You’ll practice this in the sitting position, then we’ll try it head first (on your chest, then back), and by the end of the practice session most people are relatively proficient at this important skill.
The next thing we’ll do is break out the rope and we’ll cover tying in, belaying, and a quick introduction to snow and ice anchors. The second half of the day is spent putting your newly learned skills to the test on an actual ascent. We will typically start on lower-angle terrain, then move to steeper snow and ice. There are a lot of choices, so we can adapt the pace and difficulty to the people enrolled that day. We try to incorporate multi-pitch climbing when possible, so you’ll grow accustomed to ropehandling and belay transitions.
At the top we’ll talk about the climb and you’ll get an overall critique of your climbing technique, then we will choose from a couple of different descent possibilities: rappelling, scrambling down along the margins, glissading, etc.
Day 2
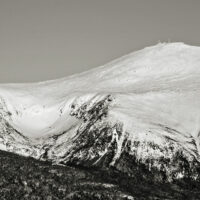
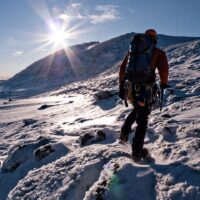
If your course includes an overnight, we normally head up onto Mt. Washington on day two. Your day will start with looking over our gear, making sure we have the essentials and nothing more. This will include a careful analysis of our food, stove and fuel. After a quick review of the day’s avalanche and weather forecast, we’ll hike the Tuckerman’s Ravine trail and set up a camp either at the Hermit Lake area or outside the Harvard Cabin below Huntington Ravine (these are the only two places we are allowed to camp on the mountain).
Typically the approach to camp will take around 1.5-2 hours, and then another hour to get camp set up. If everything goes according to schedule, we should have camp established and be ready to continue on into one of the ravines by 11am. Next we’ll hike up into either Tuckerman or Huntington Ravine where we’ll pick up your apprenticeship where we left off. Activities for the afternoon could include a number of different options such as: an easy gully climb like Left Gully in Tuckerman or South or Central Gully in Huntington; an intro to glacier travel/crevasse rescue; toprope ice climbing on the Yale Ice Bulge or one of the various flows in Tuckermans, or an introduction to avalanche awareness and an analysis of the snowpack and it’s stability or lack thereof. The afternoon typically goes by fast and by dark we will be heading back to camp.
At the bivi we’ll talk about stove use, economizing fuel, fire safety, and how to get your gear dried out for the next day. You’ll probably also be forced to listen to some of our stories, as over the years we’ve had just about everything go wrong that possibly could. There might even be a tale or two of some successes.
Day 3
The plan for day three is to attempt a climb to the summit. The route we take will depend on a lot of factors including how you have progressed up to this point, and the weather. If we are feeling ambitious we’ll head into Huntington Ravine and climb one of the classic gullies all the way up to the Alpine Garden. This could be anything from mostly snow climbing in Central gully, to the 900-foot Damnation gully, which has everything from steep snow, to ice to easy mixed – all within a gun barrel of a couloir which will make you feel like you are in the Rockies or the Alps. From the Alpine Garden we will head straight up the summit cone, using lots of French Technique.
Alternate routes we could take to the summit include Tuckerman Ravine (by any of the gullies or even an ice line up center headwall) or the Lion’s Head Winter Route (see the description in the course listings). After what will hopefully be a successful trip to the summit, we’ll descend via the Lion’s Head trail back our camp, break it down, then continue on to Pinkham Notch.
3 Day w/ Overnight Rates
Our rates are calculated based on a per-day rate, plus an overnight rate. Those rates are directly related to the number of people in your group. Here is the breakdown for a typical 3-day course with one overnight, and one guide:
- Private (one person): $375 x 3 days + $145 x 1 night = $1270
- Group of two: $250 x 3 days + $130 x 1 night = $880 per person
- Group of three: $225 x 3 days + $100 x 1 night = $775 per person
- Group of four: $195 x 3 days + $80 x 1 night = $665 per person
- Group of five: $175 x 3 days + $70 x 1 night = $595 per person
2 Day w/ Overnight
Please note that the course cost includes all of the technical equipment : mountaineering boots, crampons, ice axe, harness and helmet. We offer this equipment free of charge because we do not want a lack of gear to inhibit someone from getting into this sport. The clothing is your responsibility, so contact us for an equipment list. We do have a few items available for rent on a first-come, first-served basis, but give a call if you’re confused about whether clothing you already own satisfies the criteria. Here’s a sample itinerary for a two-day Intro to Mountaineering Course (though many variations are possible)…
Day 1
We typically meet at our office 8:30 am. After getting outfitted with boots, crampons, axes, harnesses and helmets, we’ll pack up overnight gear including tents, sleeping bags, stoves, food, fuel, etc. After a review of the day’s avalanche and weather forecast, we’ll drive up to Pinkham Notch where we’ll gear up for the approach to camp, which will be set at the Hermit Lake area or outside the Harvard Cabin below Huntington Ravine (these are the only two places you are allowed to camp on the mountain).
Typically the approach to camp will take around 1.5-2 hours, and then another hour to get camp set up. If everything goes according to schedule, we should have camp established and be ready to continue on into one of the ravines by 11am. Next we’ll hike up into either Tuckerman or Huntington Ravine where you’ll be given an introduction to walking and climbing on snow with crampons. We’ll cover the basics of crampon work including French technique, piolet traction, front pointing, plunge stepping, etc. We will quickly add a mountaineering ice axe into the equation and you’ll learn the various axe techniques, which match with the different foot techniques. We’ll talk about how to carry and grip the tool (self arrest versus self belay, pick or adze forward), caning, high and low dagger, as well as a discussion of ice axes in general and how to choose the right tool.
Once we have covered the basics of French Technique we often will move straight into self-arrest practice. We’ll practice sliding down in various positions, then rolling into self-arrest and aggressively digging the pick of the tool into the snow. You’ll practice this in the sitting position, then we’ll try it head first (on your chest, then back), and by the end of the practice session most people are relatively proficient at this important skill.
If time allows, the latter part of the afternoon can be spent on avalanche awareness, including a look at layering in the snowpack, as well as some quick tests for assessing the snowpack’s stability.
Back at camp, you’ll learn about stove use, economizing fuel, fire safety, and how to get your gear dried out for the next day. You’ll probably also be forced to listen to some of our stories, as over the years we’ve had just about everything go wrong that possibly could. There might even be a tale or two of some successes.
Day 2
The plan for the second is to attempt a climb to the summit. The route we take will depend on a lot of factors including how you have progressed up to this point, and the weather. The standard routes we take are the Lion’s Head Winter Route or if avalanche conditions allow, one of the snow gullies in Tuckerman Ravine. After what will hopefully be a successful trip to the summit, we’ll descend via the Lion’s Head trail back our camp, break it down, then continue on to Pinkham Notch.
2 Day w/ Overnight Rates
Our rates are calculated based on a per-day rate, plus an overnight rate. Those rates are directly related to the number of people in your group. Here is the breakdown for a typical 3-day course with one overnight, and one guide:
- Private (one person): $375 x 2 days + $145 x 1 night = $895
- Group of two: $250 x 2 days + $130 x 1 night = $630 per person
- Group of three: $225 x 2 days + $100 x 1 night = $550 per person
- Group of four: $195 x 2 days + $80 x 1 night = $470 per person
- Group of five: $175 x 2 days + $70 x 1 night = $420 per person
Intro to Mountaineering Notes
- Overnight fees includes a guide, the loan of tents, stoves, fuel, and the forest service camping fee. Overnight fees do not include sleeping bags and pads. SMG has a few bags and pads to rent, so inquire if you need one.
- Please note that you are responsible for supplying your own food, as noted on the gear list we’ll send you. We can offer suggestions, which you can then adapt to your own dietary restrictions, allergies, and preferences.

